
Here are the materials:
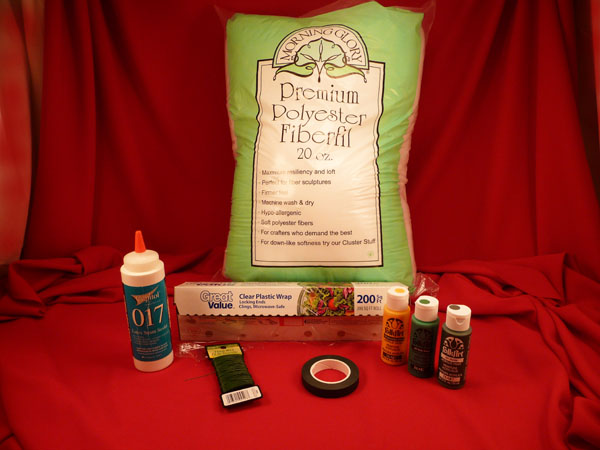
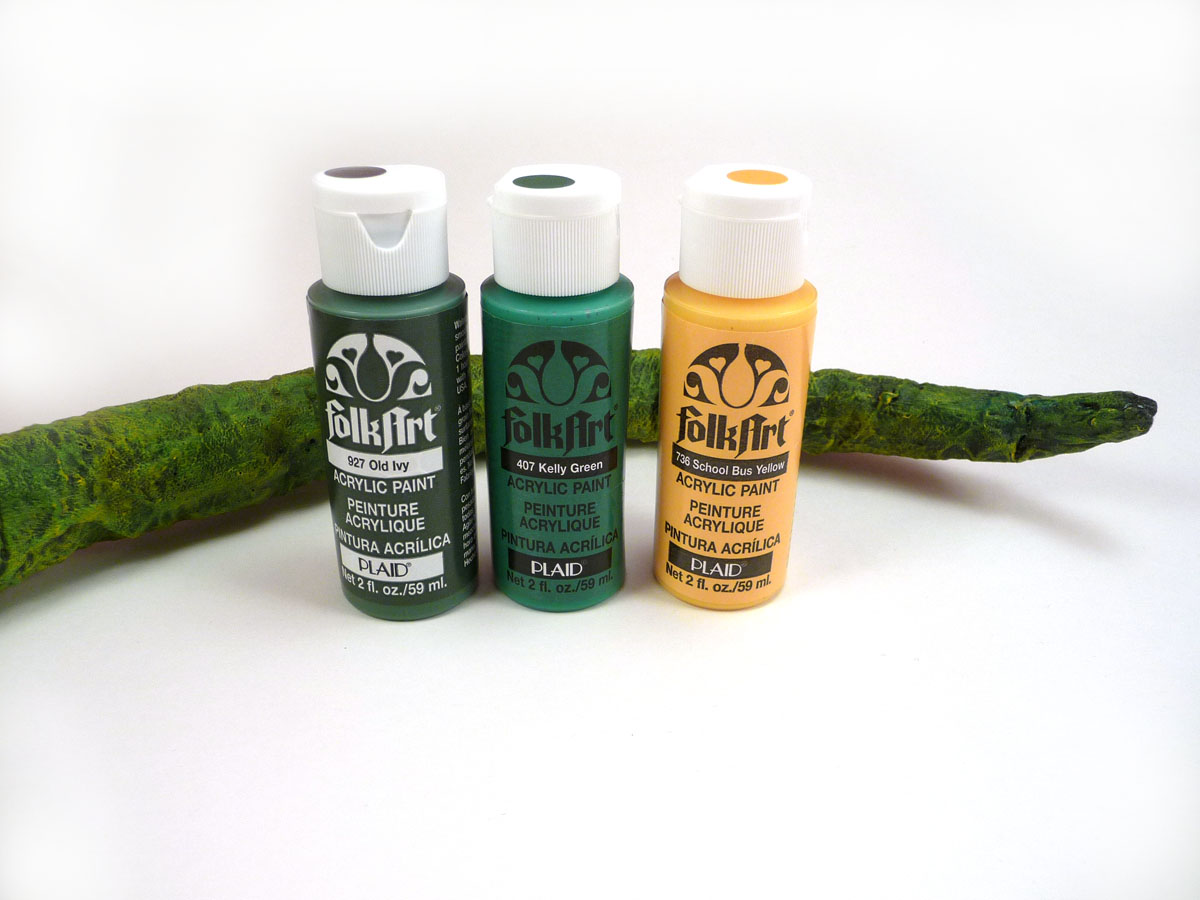
Going from left to right we have 1 bottle of liquid latex carpet adhesive, 1 roll of plastic cling wrap, 1 card of floral wire, 1 bag of polyester fiberfill, 1 roll of floral tape, and three bottles of craft acrylic paint. I chose “Ivy Green”, “Kelly Green”, and “School Bus Yellow”, but any three color spectrum from light to dark will do. The final tab should be less than $10 and you’ll have enough material to create dozens of tentacles.
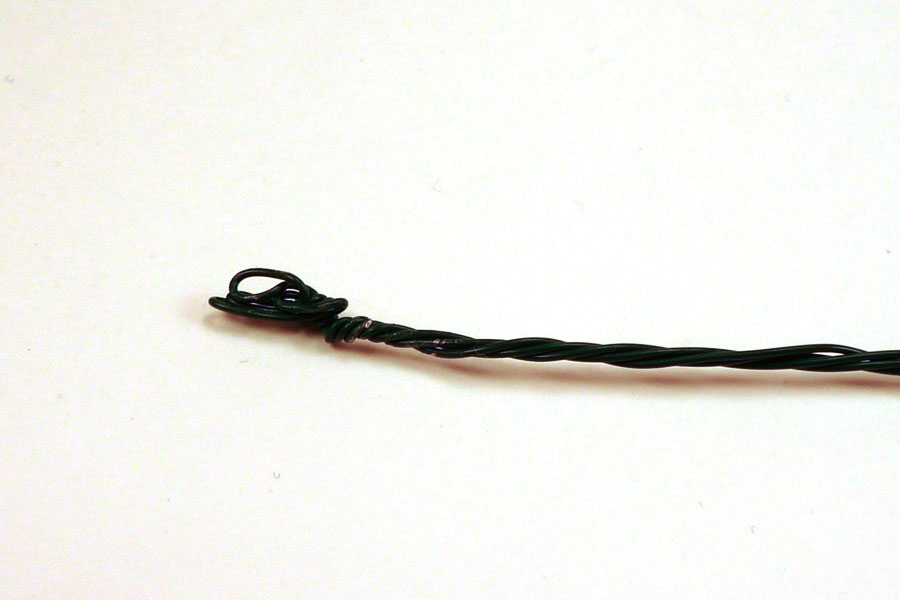
First off, we need to make the flexible wire core that will give the tentacle limited posability. Cut off a length of floral wire four times as long as you want your finished tentacle to be. Fold it in half and then fold the resulting double strand in half to produce a loose, four strand bundle of wire. Run a stick or bamboo skewer through the end of the bundle with two loops and hold that in one hand. Grab the other end with a pair of pliers. Now twist. And twist. And twist. Eventually the four strands will twist together into one, single braided wire, like this:
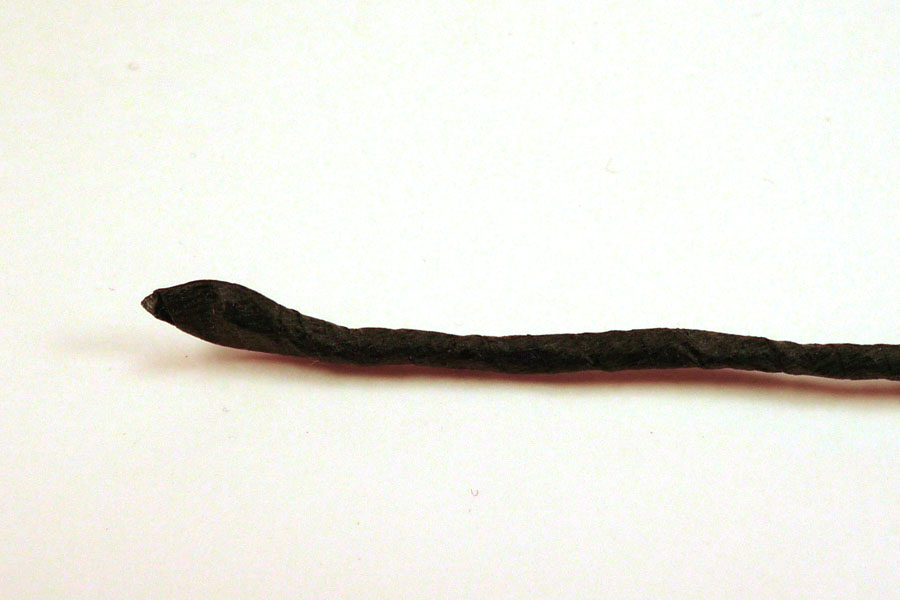
Now wrap the braided wire with a layer of floral tape to keep the fibers from the next step from binding up between the wire strands:
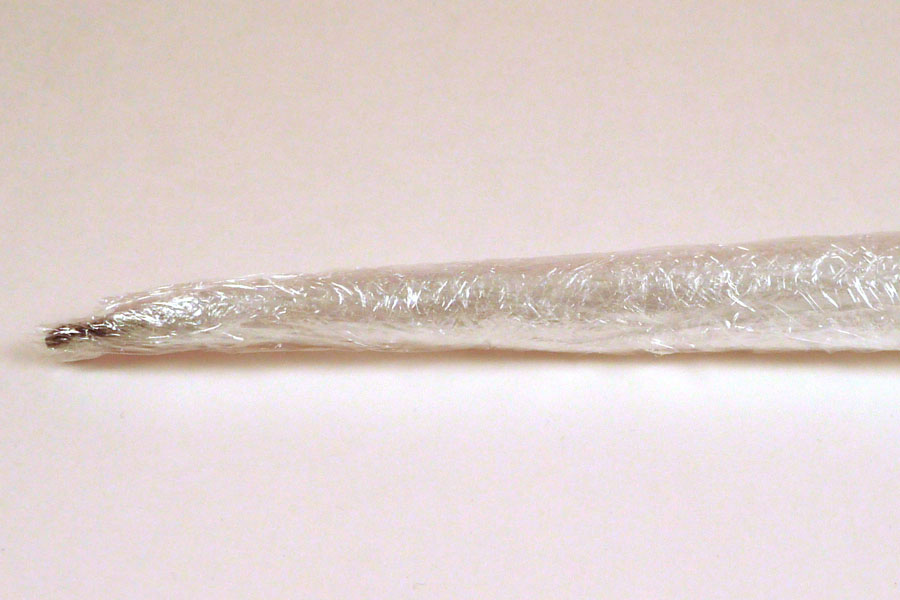
Now we’ll form the tapering body of the tentacle. Grab a handful of the fiberfill material out of the bag and form it into a rough triangle shape the same length as your wire core. Your finished tentacle will be an elongated cone shape, so make sure the layer of fiberfill is relatively even. Place your wire core on top of the fiberfill. Grab another handful of fibers and form another triangle shape identical to the first and place that on top of the wire. By now you should have a sandwich- a layer a fibers, the wire core, and another layer of fibers.
Pull off a sheet of the plastic food wrap from a foot to two feet in length from the roll. Now carefully start wrapping it around the wire and fiberfill using gentle pressure to form the shape of the tentacle. Keep adding plastic wrap, covering the entire body of the tentacle to form the “skin” of the finished tentacle. Once you’ve covered the entire tentacle and have the basic shape defined you can add more of the plastic film, wrapping it tighter and tighter until you have a soft but flexible shape that looks something like this:
Set the tentacle aside and grab the liquid latex and the bottle of your darkest paint color. Mix about half a cup of the latex with a teaspoon of the paint in a disposable container, preferably something like a yogurt cup with a reusable lid. Once the paint and latex are thoroughly mixed use a cheap foam brush to start coating the tentacle with the mixture. Start at the tip and work your way about halfway down, taking care to coat any loose bits of plastic film so they’ll adhere to the main body. The latex will bind the layers of plastic wrap together, giving you a solid “skin” for your prop as well as providing the base coat of color.
This is probably the most time-consuming part of the construction. You’ll have to work in sections, alternating between the half of tentacle at the tip end and the half at the base end, setting the tentacle in a bottle or vase between applications so the latex can dry.
Just a reminder- it’s called latex adhesive for a reason. Use a table-top or your kitchen counter as your work area, because if the latex dribbles into a carpet or any kind of fabric YOU WILL NEVER, EVER GET IT OUT.
This is what it will look like once you have the first layer of latex applied:
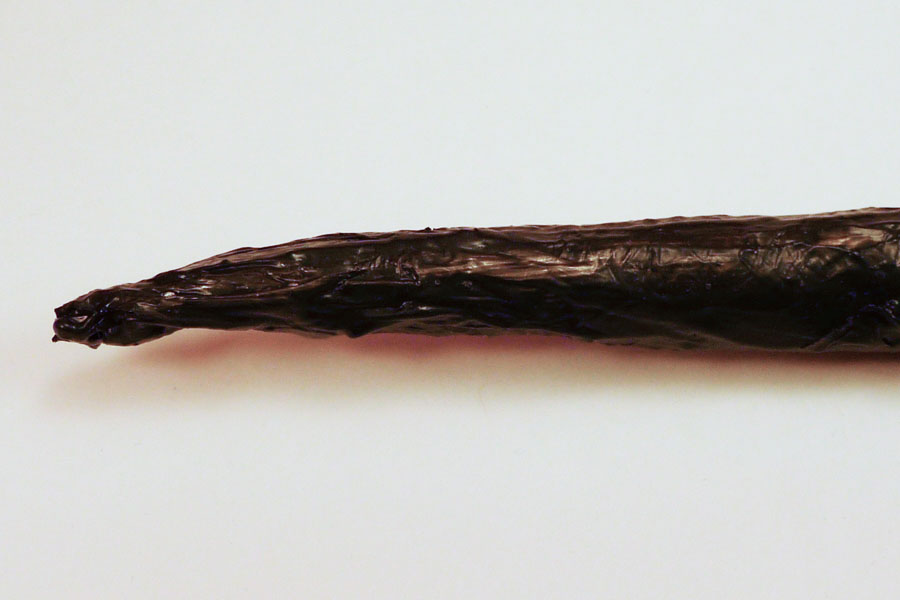
Isn’t that beautiful? The crinkled up plastic wrap gives the skin a wonderfully gnarled organic texture.
Alright, we’re in the home stretch now. Once you have the tentacle coated with latex you keep applying layers until the skin is fully built up. Coat, let dry, and coat again. Each layer of latex is surprisingly thin, so it took three coats before I thought the skin was sufficiently strong enough for the final paint job.
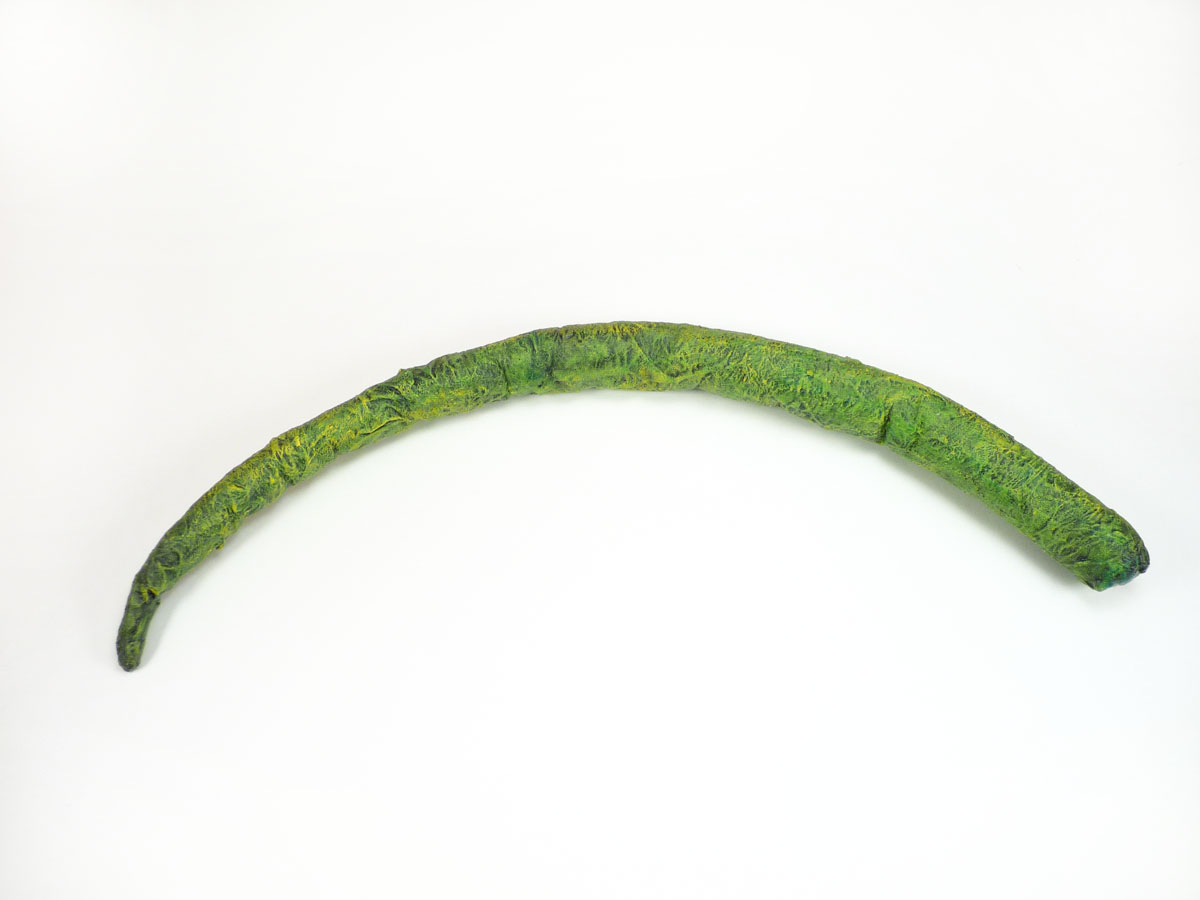
Remember how I said you’ll need three colors of paint? Here’s where the other two come in. You’ve already applied your darkest color mixed in with the latex- it’s your “shadow” color, the base of the shadow-midrange-highlight triumvirate. Now you’ll apply your midrange color using a piece of sponge or bundled up paper towel. Squeeze out a dollop of paint onto a plate or some scrap paper, dip your applicator in it, daub off any excess paint using a rag or paper towel, and gently sponge on the paint. Again, you’ll probably have to work in stages to give the paint time to dry. You want to cover the whole body of the tentacle without getting paint into the crevices. That’s where the darker shadow color will be, giving your skin texture depth. Once the midrange paint is dry apply the final highlight color by drybrushing it across the raised areas of the skin with a cheap brush. The result?
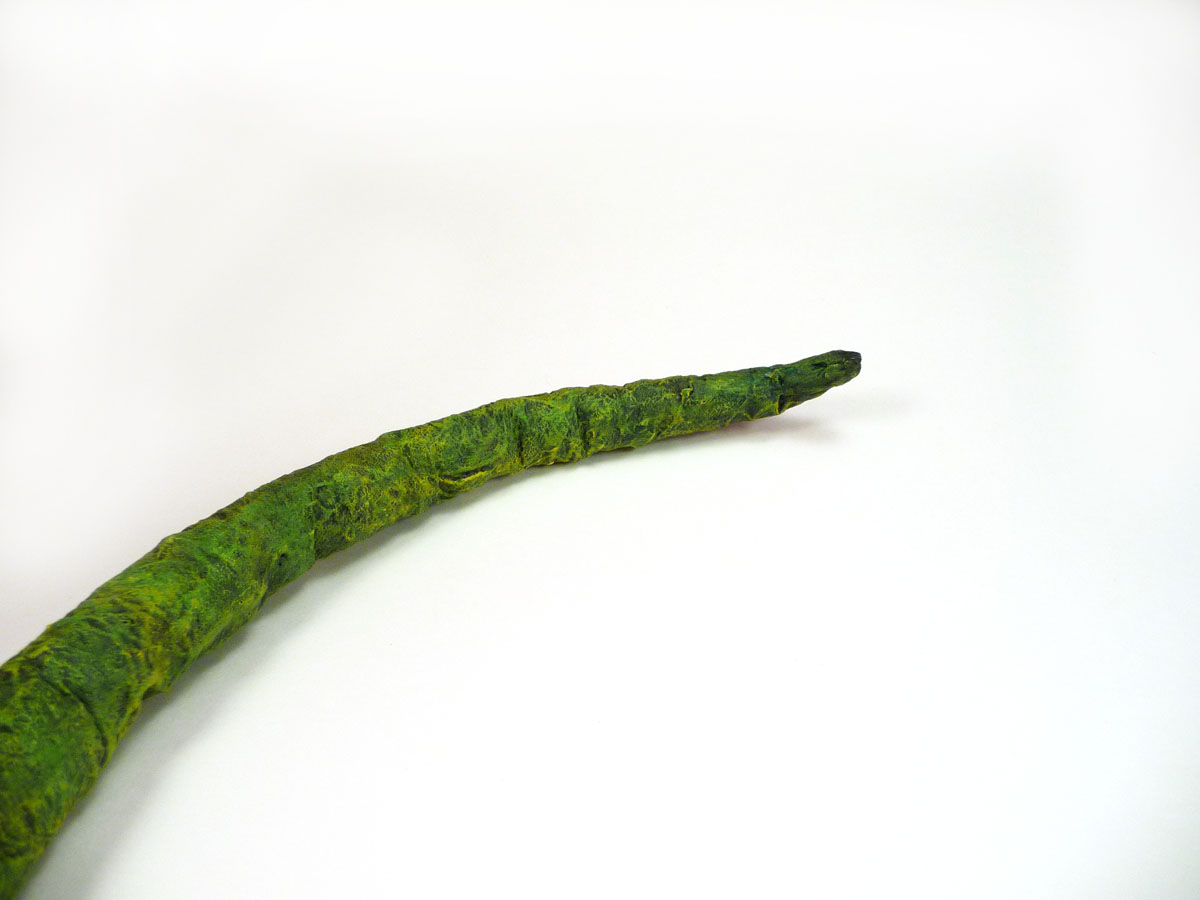
Notice how the three colors give depth to the skin texture? Click through to see the high rez JPG where the effect is even more noticable.
There you have it. A cheap, relatively simple way to make tentacles. Thanks to the plastic film construction technique the results are surprisingly good.
Keep in mind that this was a first-time effort. With some practice and a few refinements I think this technique can produce tentacles that aren’t just good, but downright fantastic. You could add suckers to the underside of the tentacle using hot glue or plastic rings from the craft store. Or produce more paddle-shaped tentacles, ala the squid-like ones in “The Mist”, by using a sheet of cheap craft foam to form the shape. Since all the materials are effectively waterproof it’s even suitable for preserved specimens floating around in a jar.
Why, I could even see someone using a variation of this approach to create a large-scale Elder Thing…
This article originally appeared at Propnomicon.

This work is licensed under a Creative Commons Attribution-Noncommercial-Share Alike 3.0 Unported License.
Gravedigger’s Local 16 is not to be held responsible for the content on or anything that may occur (be it good or bad) as a result of visiting any links (or constructing a project that’s detailed on them). Attempt at your own discretion.