
This tutorial will show you how to make a gruesome bit of preserved tissue using cheap and readily available materials. When you’re done you’ll have something like this:

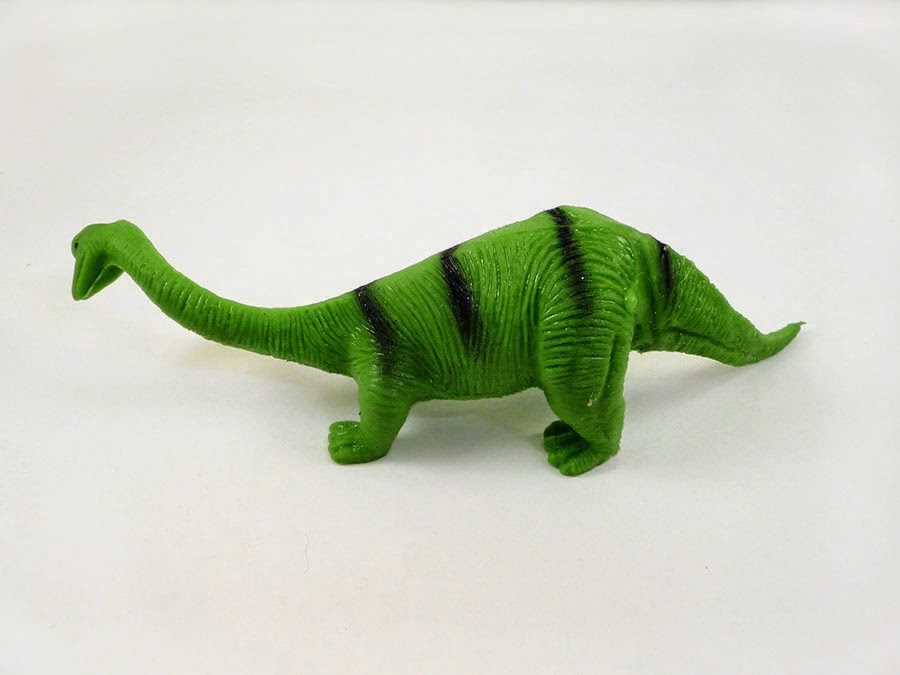
This tutorial builds on ideas originally shared by “Ravenworks69” in the Halloween Forum. To start off, you’ll need one of the soft, squishy animals frequently found on discount store shelves in the toy section for around a buck. This will be the core of the tissue specimen.
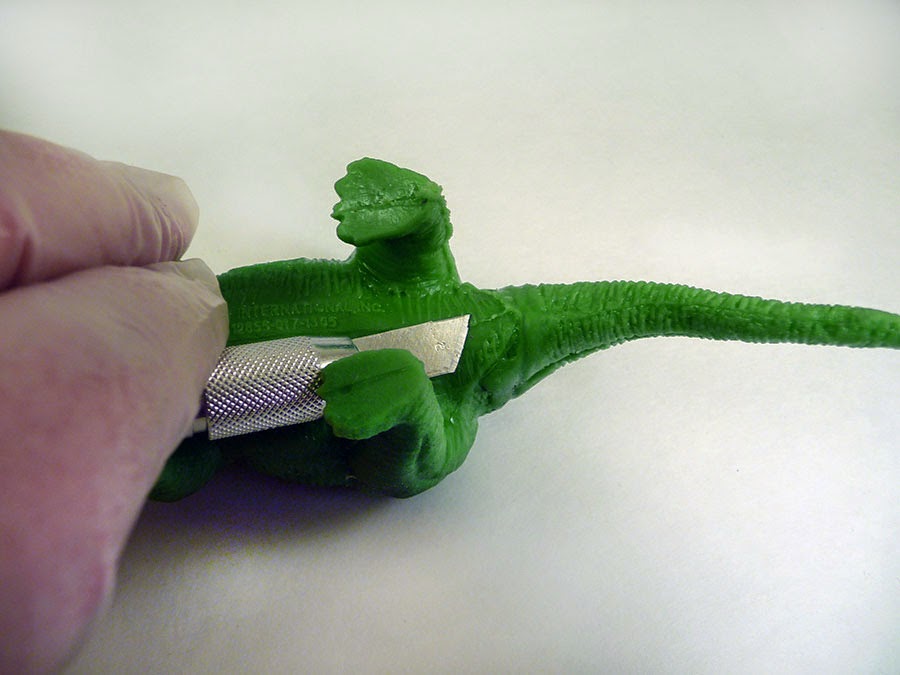
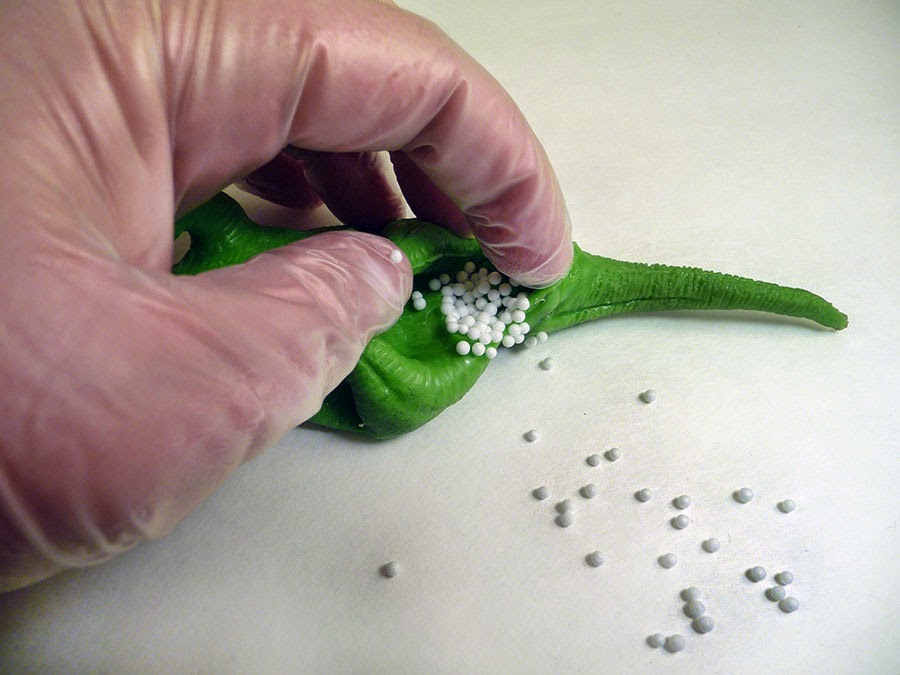
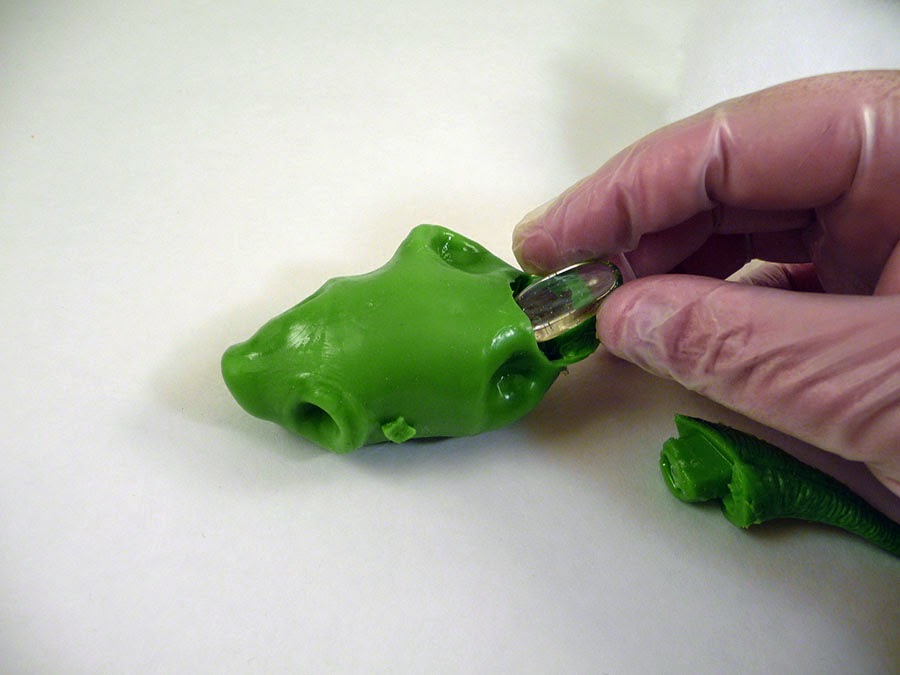
Once you find it, make an incision into the cavity and remove the little plastic beads inside. A shop-vac will make this considerably easier, since the little spheres are amazingly sensitive to static electricity and cling to everything.
Once the beads are out, remove the tail and turn the whole creature inside out.
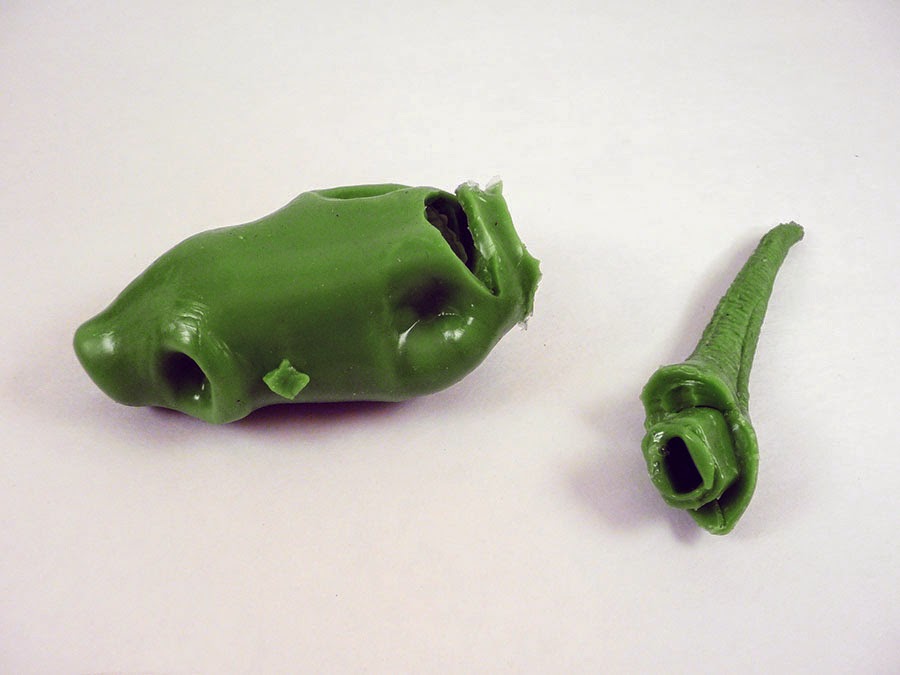
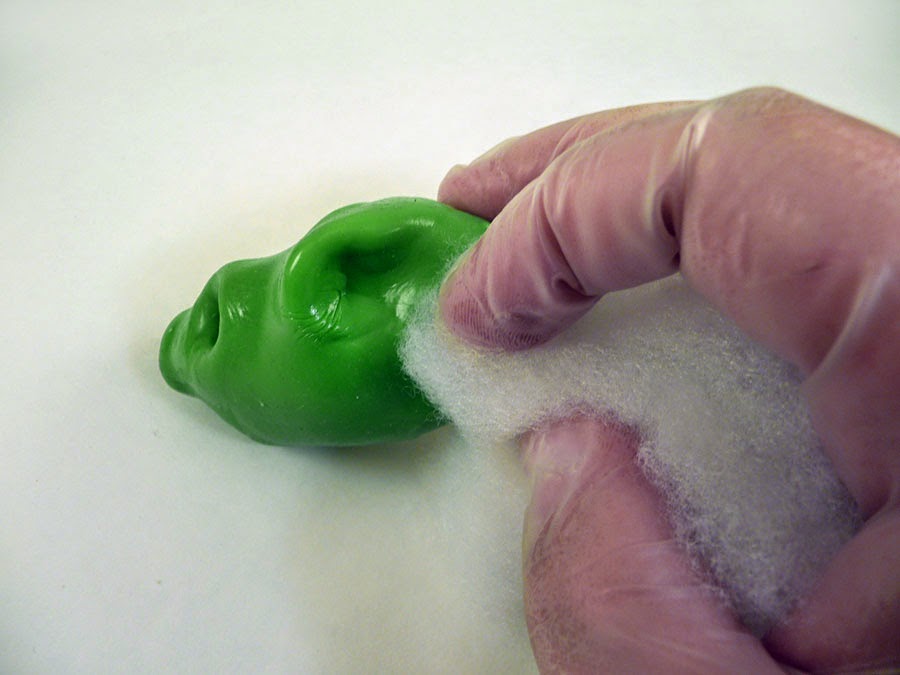
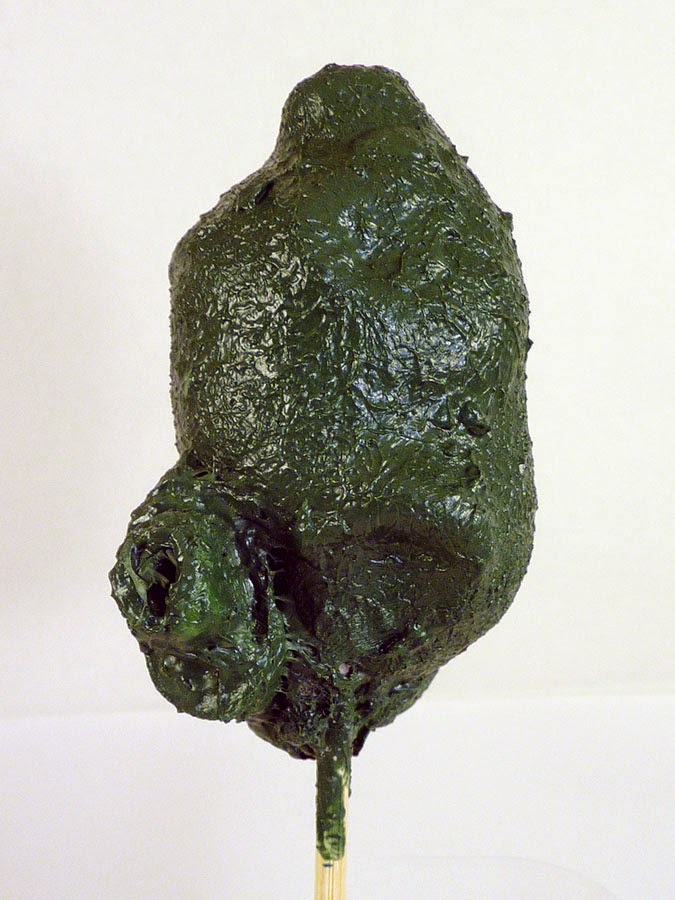
Once you’re done you’ll have a plump little sausage of vinyl filled with glass and polyester. Hey, isn’t something missing?
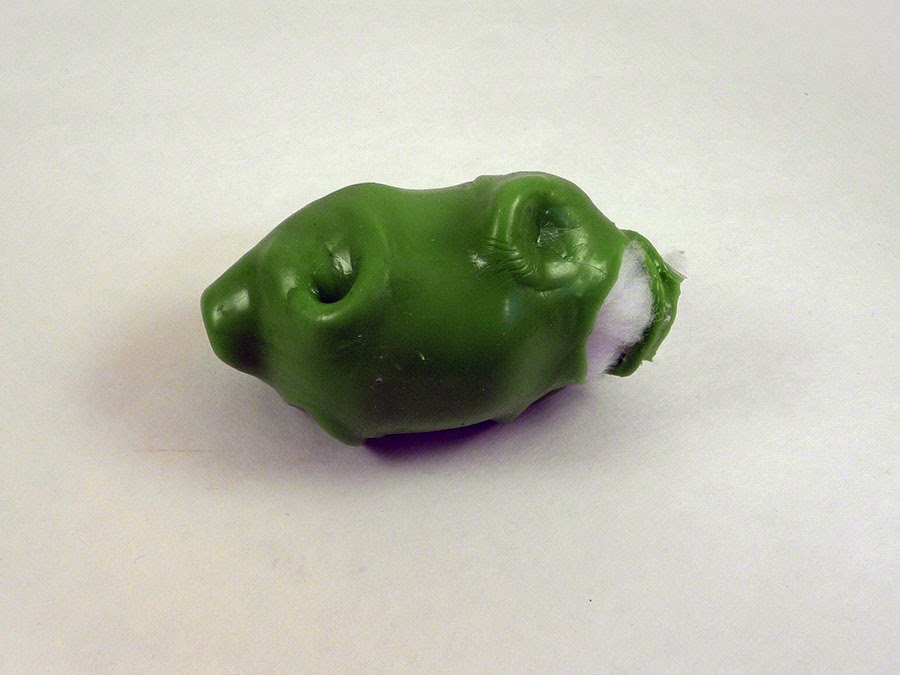
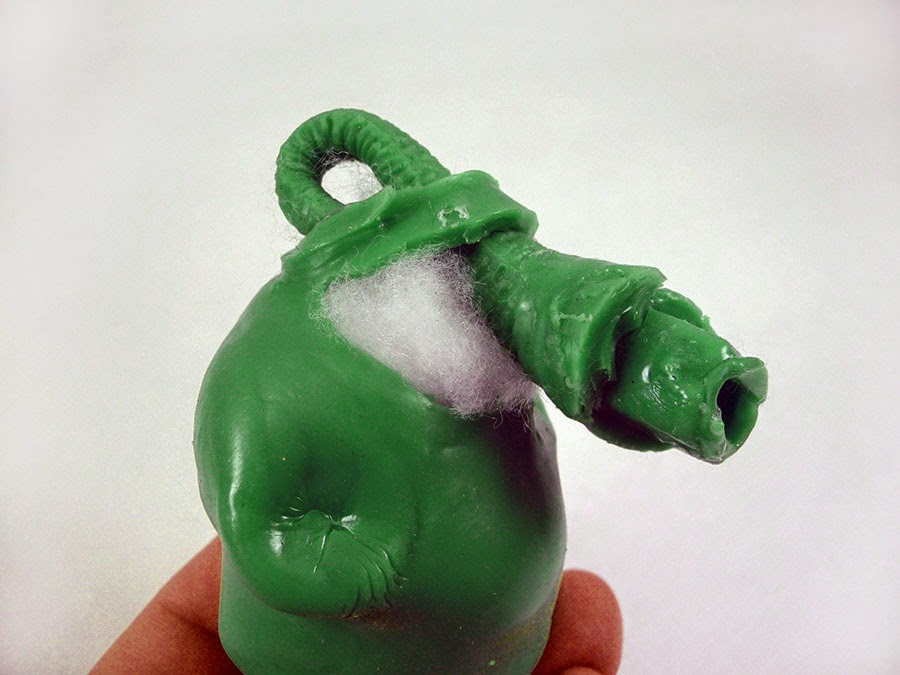
That’s right, the tail. We’ll stick that through our incision to add some more texture. Coiling the length of the tail around on itself gives a good approximation of the organic shapes of real tissue.
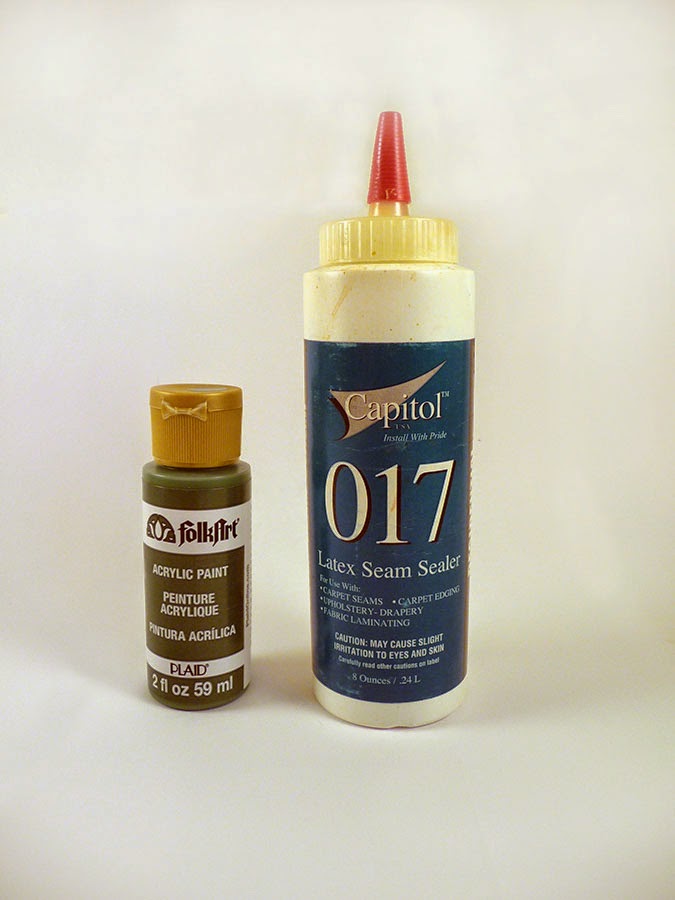
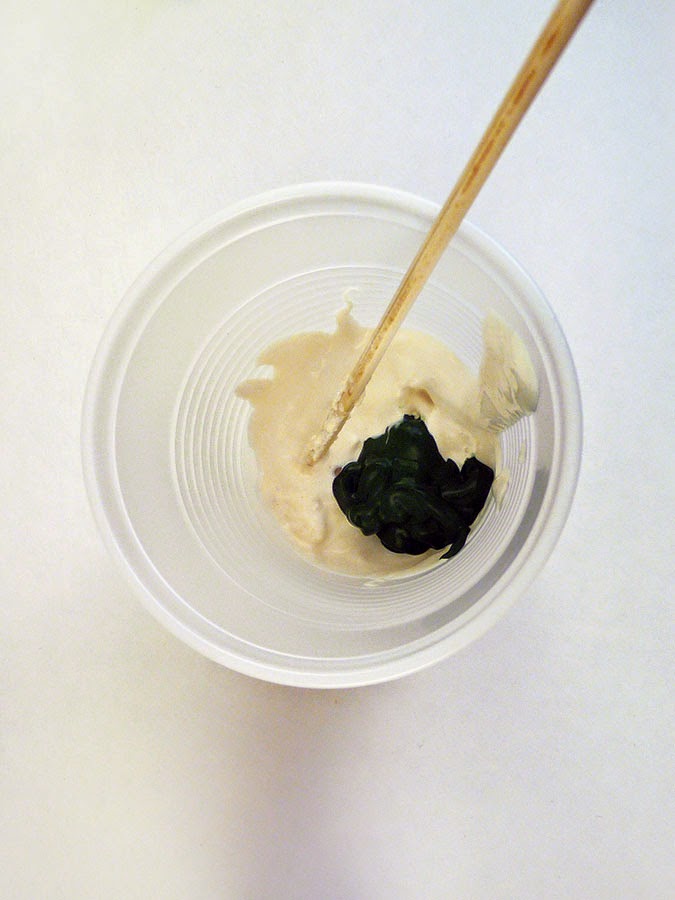
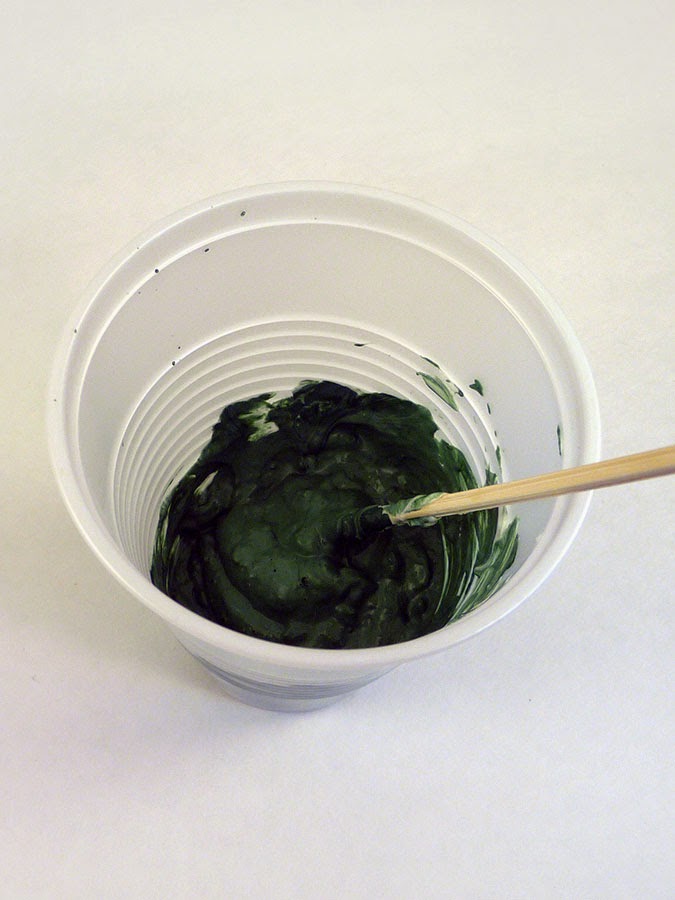
Keep stirring until the mixture is uniform. The ammonia fumes will be quite strong, so ventilate appropriately.
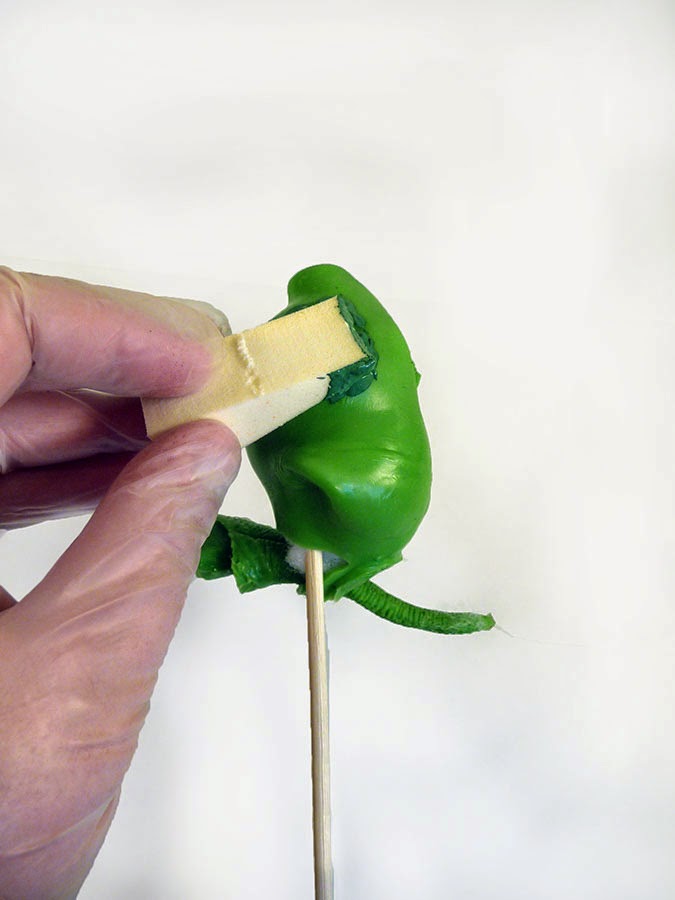
Now apply another layer of latex, And another. And another. In all I gave this piece six coats of latex. Let each coat dry before applying the next. If you daub on the latex with a sponge you can build up some really cool surface texture by taking advantage of the material’s natural tackiness.
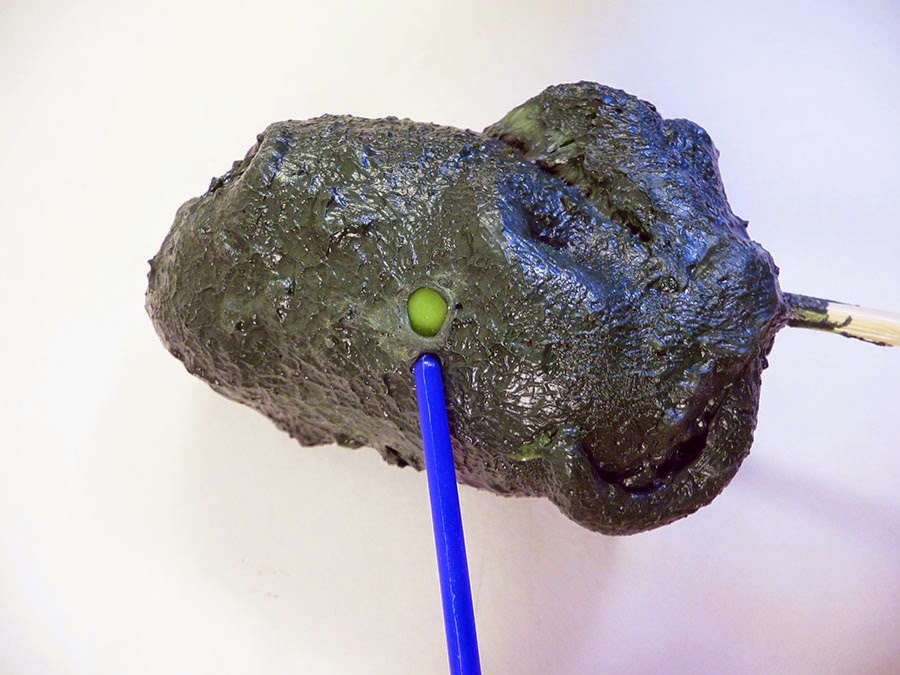
After applying multiple coats of latex it’s time to rub some of it off. Poke the latex skin with the tip of a skewer or the end of a narrow-handled paintbrush, anything that will bite into the latex a bit. The end of this cheap craft paintbrush has a mold line flange that’s perfect. Then rub against the latex in small circles. As you apply pressure the latex it will eventually tear away from the vinyl and create a circular opening. Insert your tool into the hole and keep rubbing it in circles to widen it.
How cool is that? You get a neat little pustule effect. Repeat as needed to create a nasty, diseased appearance.
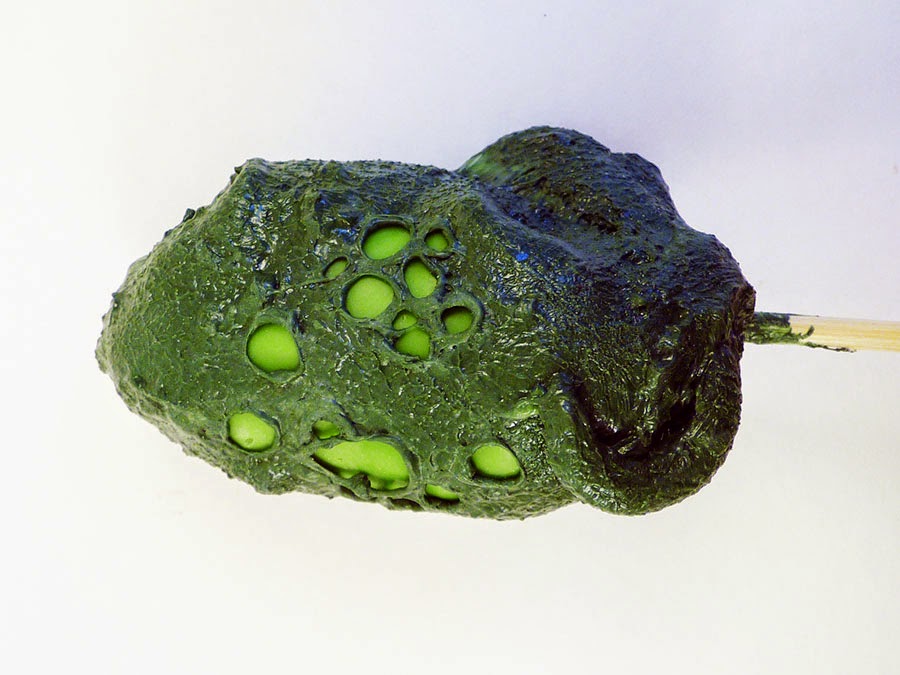
In one fell swoop you’ve added some interesting visual and textural contrast to the piece. The smooth exposed vinyl contrasts nicely with the gnarled surface of the latex. Our next step is going to kick up that surface treatment another notch. We’re going to drybrush the latex with a contrasting color to bring out the details.
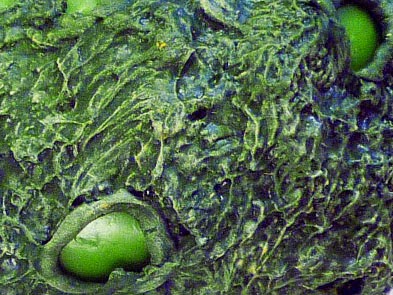
If you’re not familiar with drybrushing, you load a stiff brush with paint, wipe most of it off on a piece of scrap paper, and then lightly run the brush along a textured surface. The tiny amounts of pigment left on the bristles of the brush stick to the raised areas, producing highlights. Here’s our specimen after being drybrushed with yellow.
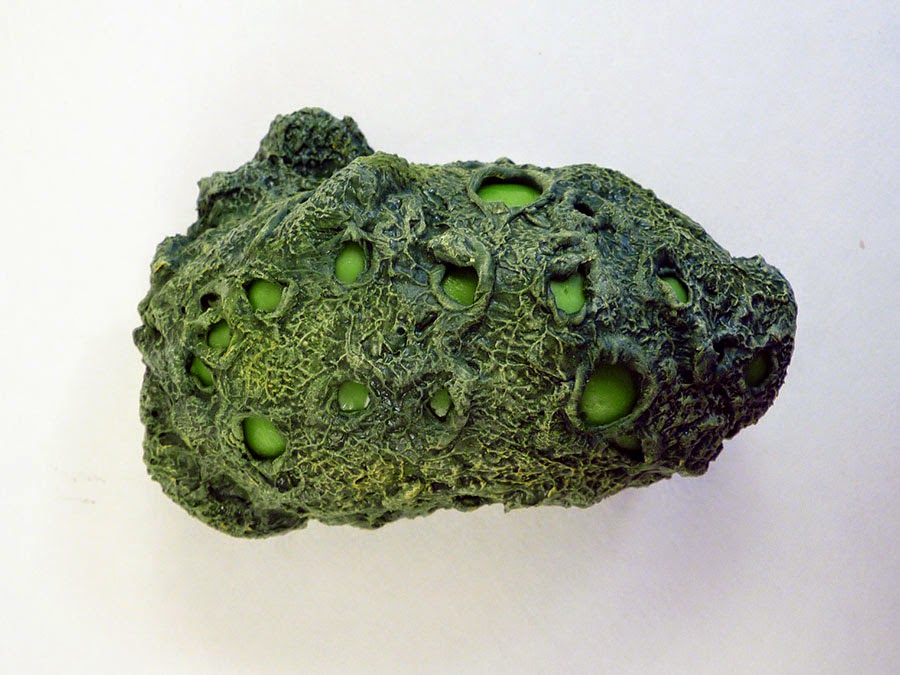
Here’s a closeup of the skin. See how the yellow pigment clings to the high spots? That’s how drybrushing adds depth and detail.
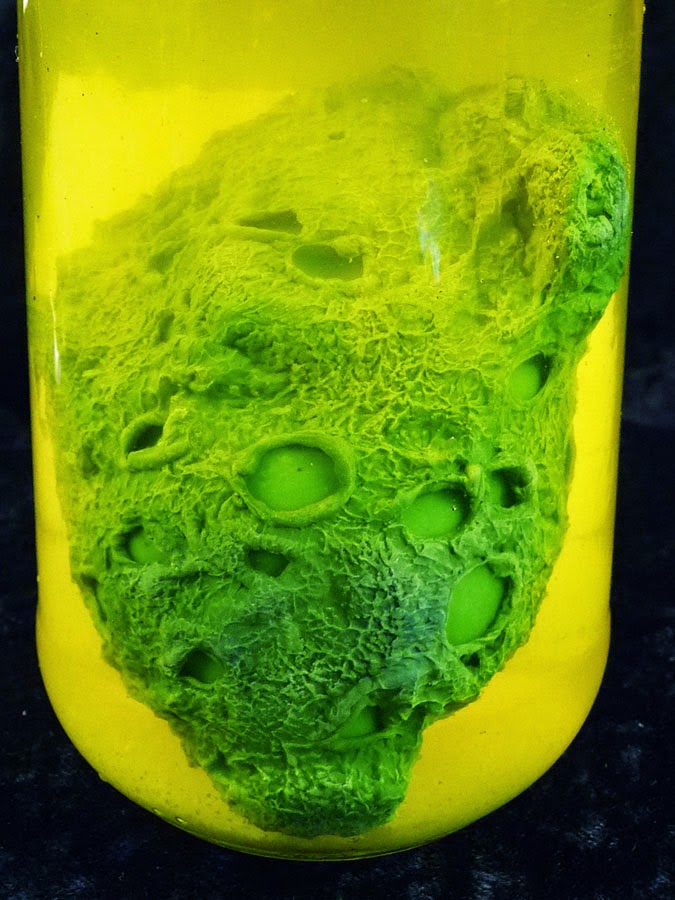
Now you just drop the specimen into a jar filled with water, add a few drops of food coloring and…tada!
Okay, I did skip a few steps there. But not many. Rinse out your jar with a weak bleach solution to sterilize it, then fill it with water and drop the finished specimen in. Gently press out any air that’s trapped inside the specimen. That should leave your “tissue” sample floating gently along the bottom or side of the bottle.
Food coloring is ideal for tinting the water inside your specimen jar. I used yellow, which was a bit of a mistake. It goes nicely with the green, but it also negates the yellow highlighting I spent all that time on. I should have dry brushed with white instead.
I also added some sediment to the jar by sprinkling in a little garlic powder. The granules absorb some of the water and swell up, producing a reasonable facsimile of the detritus that flakes off organic specimens over time. Here’s what it looks like when you give it a good shake.
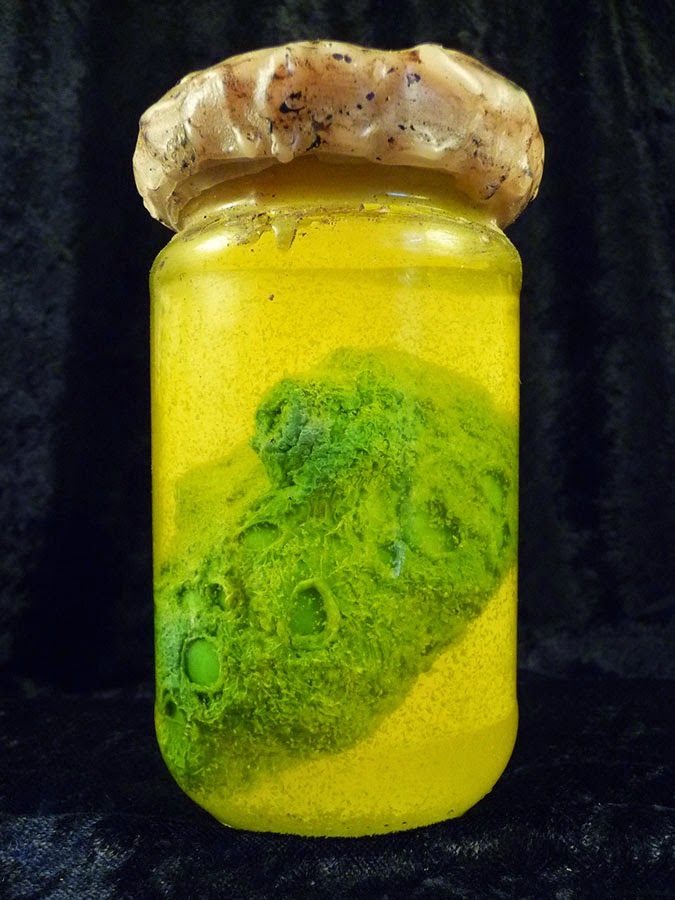
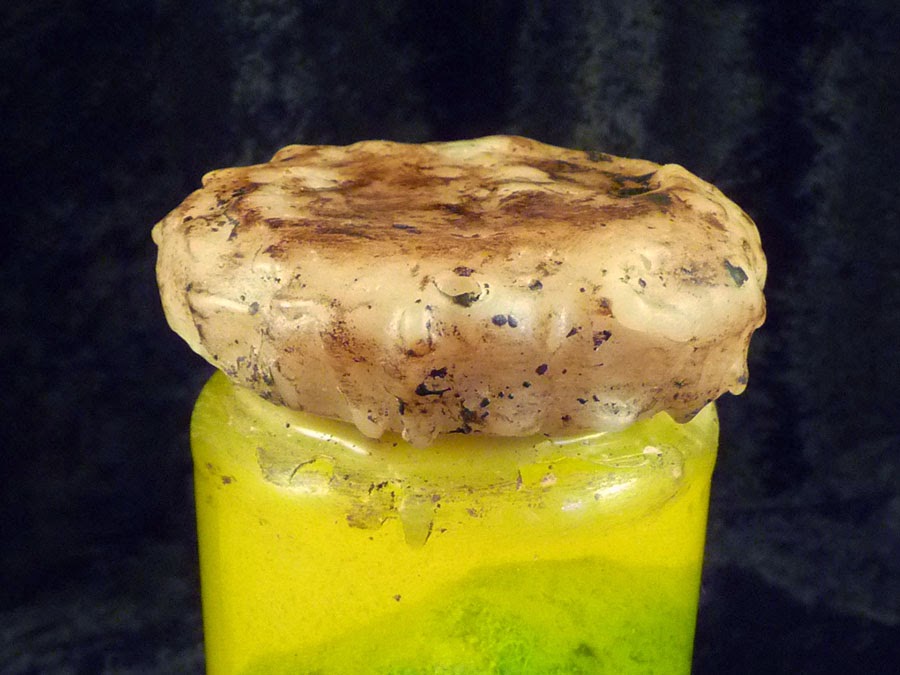
Finally, I added a wax seal. This is just bog-standard paraffin melted in a double boiler. I dipped the lid of the jar in the wax, set it aside to cool, and then repeated the process until the full seal was built up. Then I grunged it up with some wax-based schmutz.
There you have it. A couple of bucks for materials, a few hours of your time, and you can start populating your shelves with all sorts of bottled nastiness. There are a multitude of refinements you can add to this basic technique, from labels and collection tags to using different squishy animals as a base. Want a facehugger from “Alien”? Trim the body of a rubber spider and hot glue part of a rubber snake to it.
One of the advantages of making a “thing in a bottle” is that you can control how visible the creature inside is. If your specimen looks amazing just add some food coloring and show off your work. If it’s not that hot, some sediment and a pinch of chalk dust makes the fluid more opaque and covers up any flaws.
This article originally appeared at Propnomicon.

This work is licensed under a Creative Commons Attribution-Noncommercial-Share Alike 3.0 Unported License.
Gravedigger’s Local 16 is not to be held responsible for the content on or anything that may occur (be it good or bad) as a result of visiting any links (or constructing a project that’s detailed on them). Attempt at your own discretion.